שלב 1: מצלמים את המוצר ולוקחים צילום מסך לפריים הראשון
מצלמים סרטון שאתם מחזיקים את המוצר ביד — כל מוצר עובד. נעל, בושם, קרם, משקולת. צילום ביד טבעית, רקע פשוט, תאורה טובה.
אחרי הצילום — עושים צילום מסך לפריים הראשון של הסרטון. זו התמונה שתעלו ל-Higgsfield בשלב הבא.
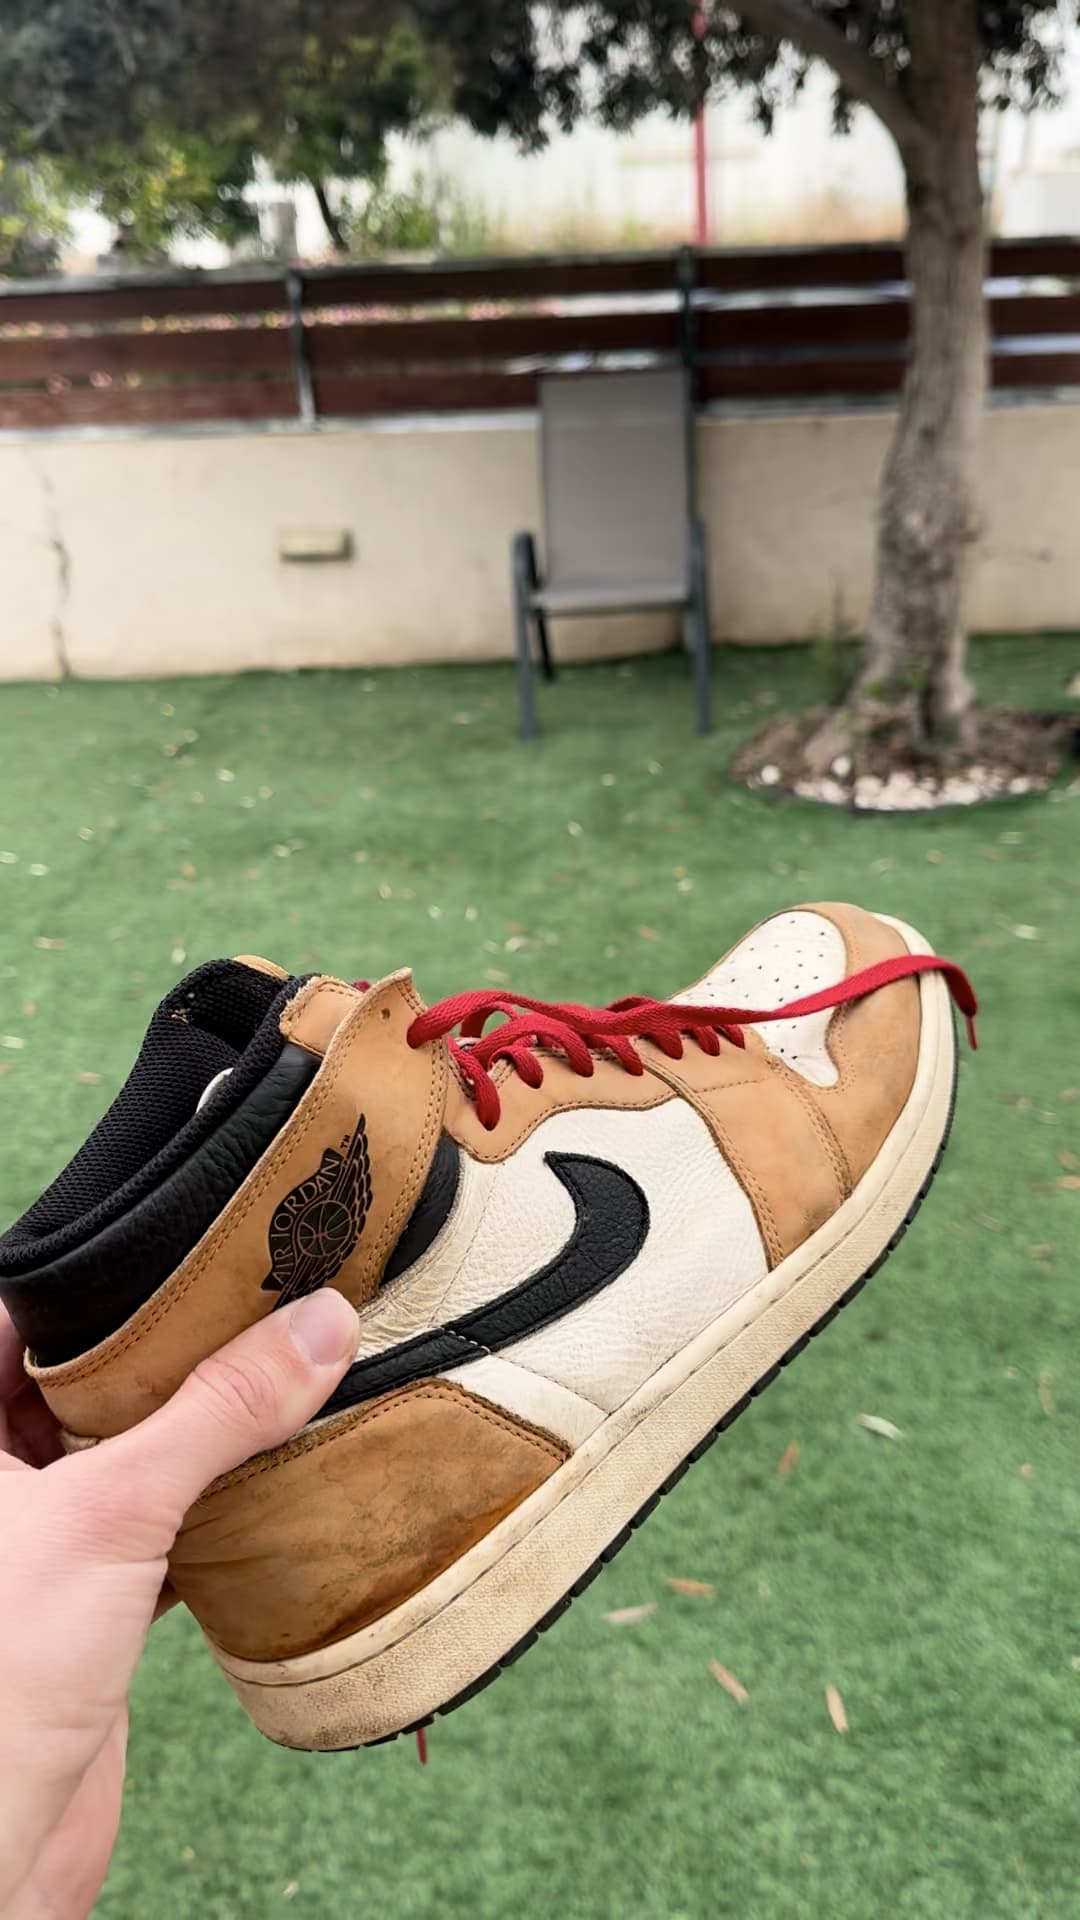
הפריים הראשון שתעלו ל-Higgsfield
שלב 2: Higgsfield NanoBananaPro — יוצרים את ה-AR Overlay
נכנסים ל-Higgsfield, בוחרים NanoBananaPro — מעלים את צילום המסך מהפריים הראשון ותמונת רפרנס של המוצר.
בפרומפט — תכתבו את המפרט של המוצר שלכם (שם, מחיר, תגיות). מריצים 4 גנרציות ובוחרים את הכי מגניב.
📋 לחץ לצפייה בפרומפט המלא
Do not change anything in the original photo.
Keep the exact background, lighting, environment, colors and product as photographed.
Only add AR HUD scanning overlay elements on top:

- Glowing cyan ellipse scan rings surrounding the product (#00E5FF, soft glow)
- One bright white scan origin point on the product with 3 radiating pulse rings
- Semi-transparent holographic data grid panel, top-left corner of frame
- Floating bracket-style label tags in cyan:
  Top area: large bold white text [קרם לחות] in square brackets
  Mid: small cyan tag [מהדורה מוגבלת]
  Mid-right: small cyan tag [מקורי]
  Bottom-right: green glowing badge [99₪] (#00FF88)

Treat this as a compositing job — the photo is final, only the HUD layer changes.
Photorealistic, 8K sharp.
כמה דוגמאות לתוצאות שקיבלנו עם מוצרים שונים:
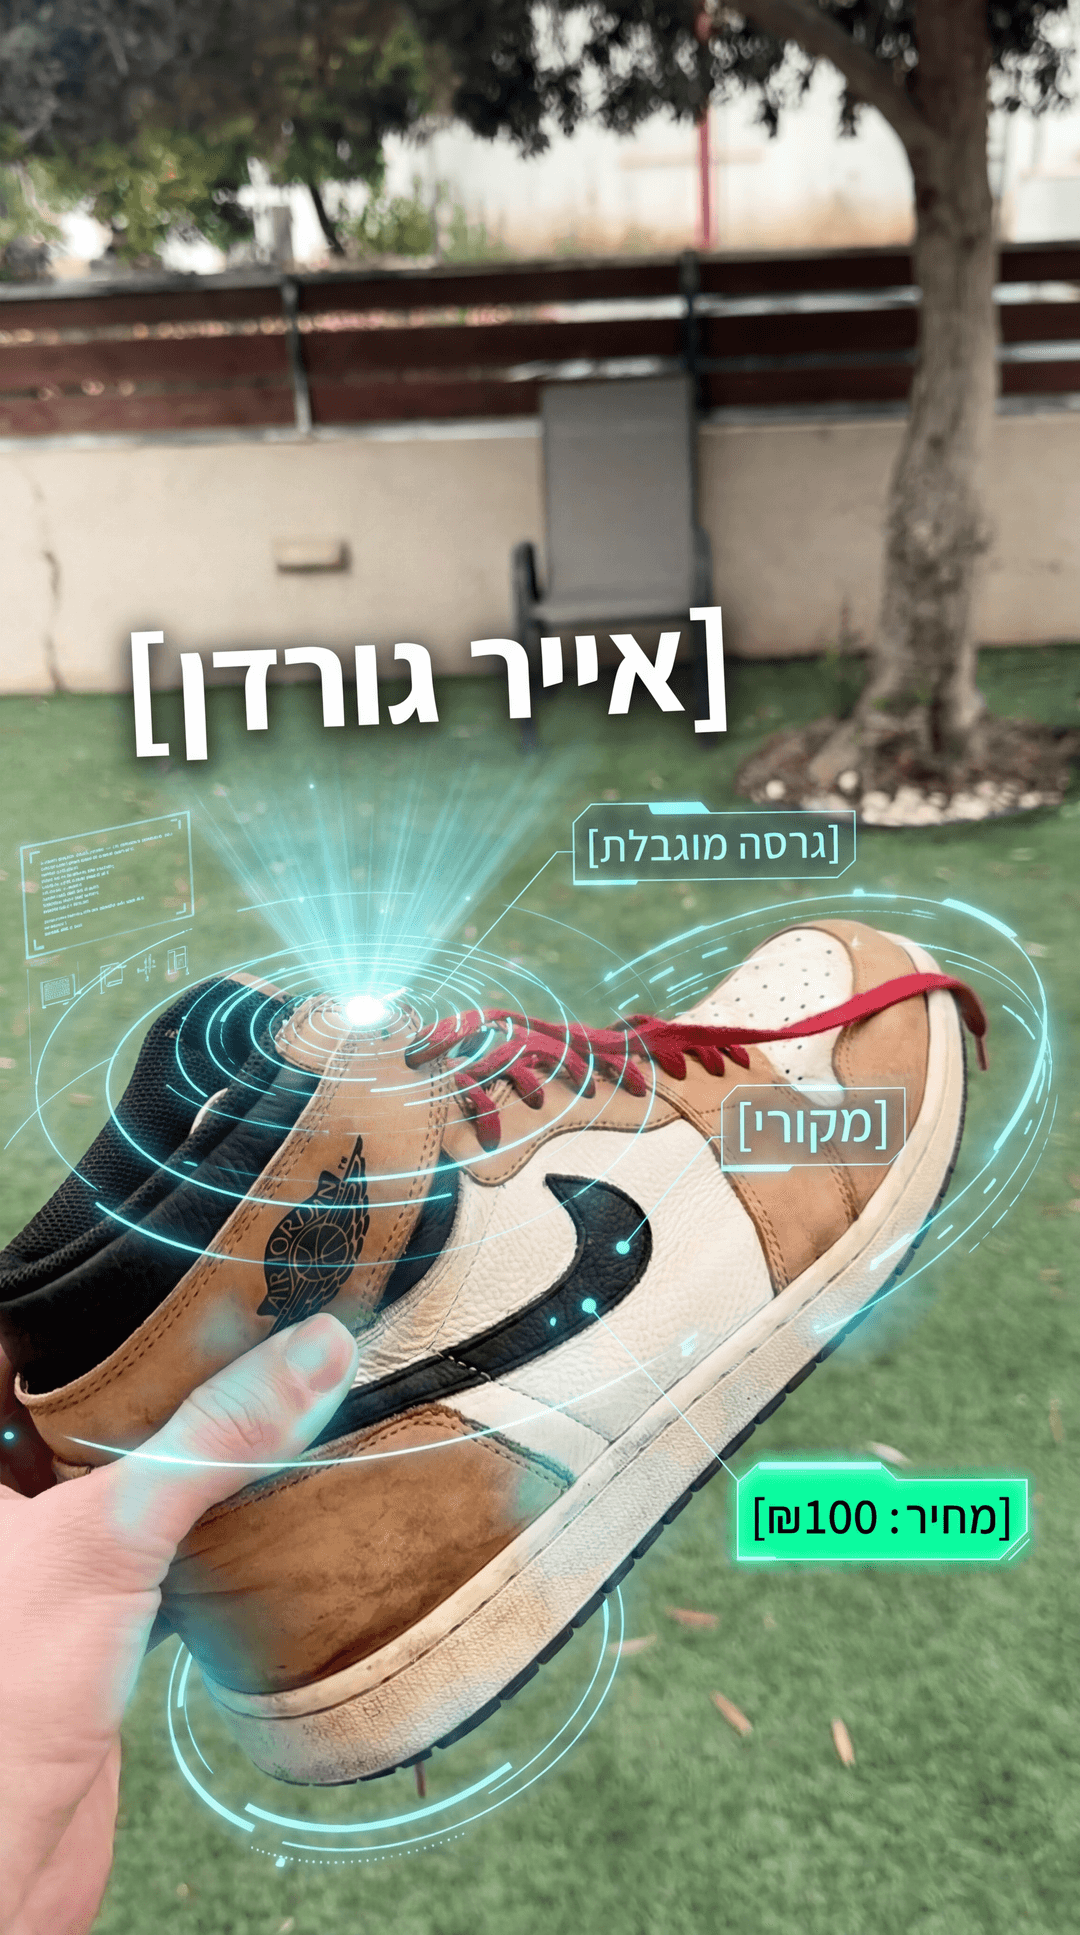
אייר גורדן
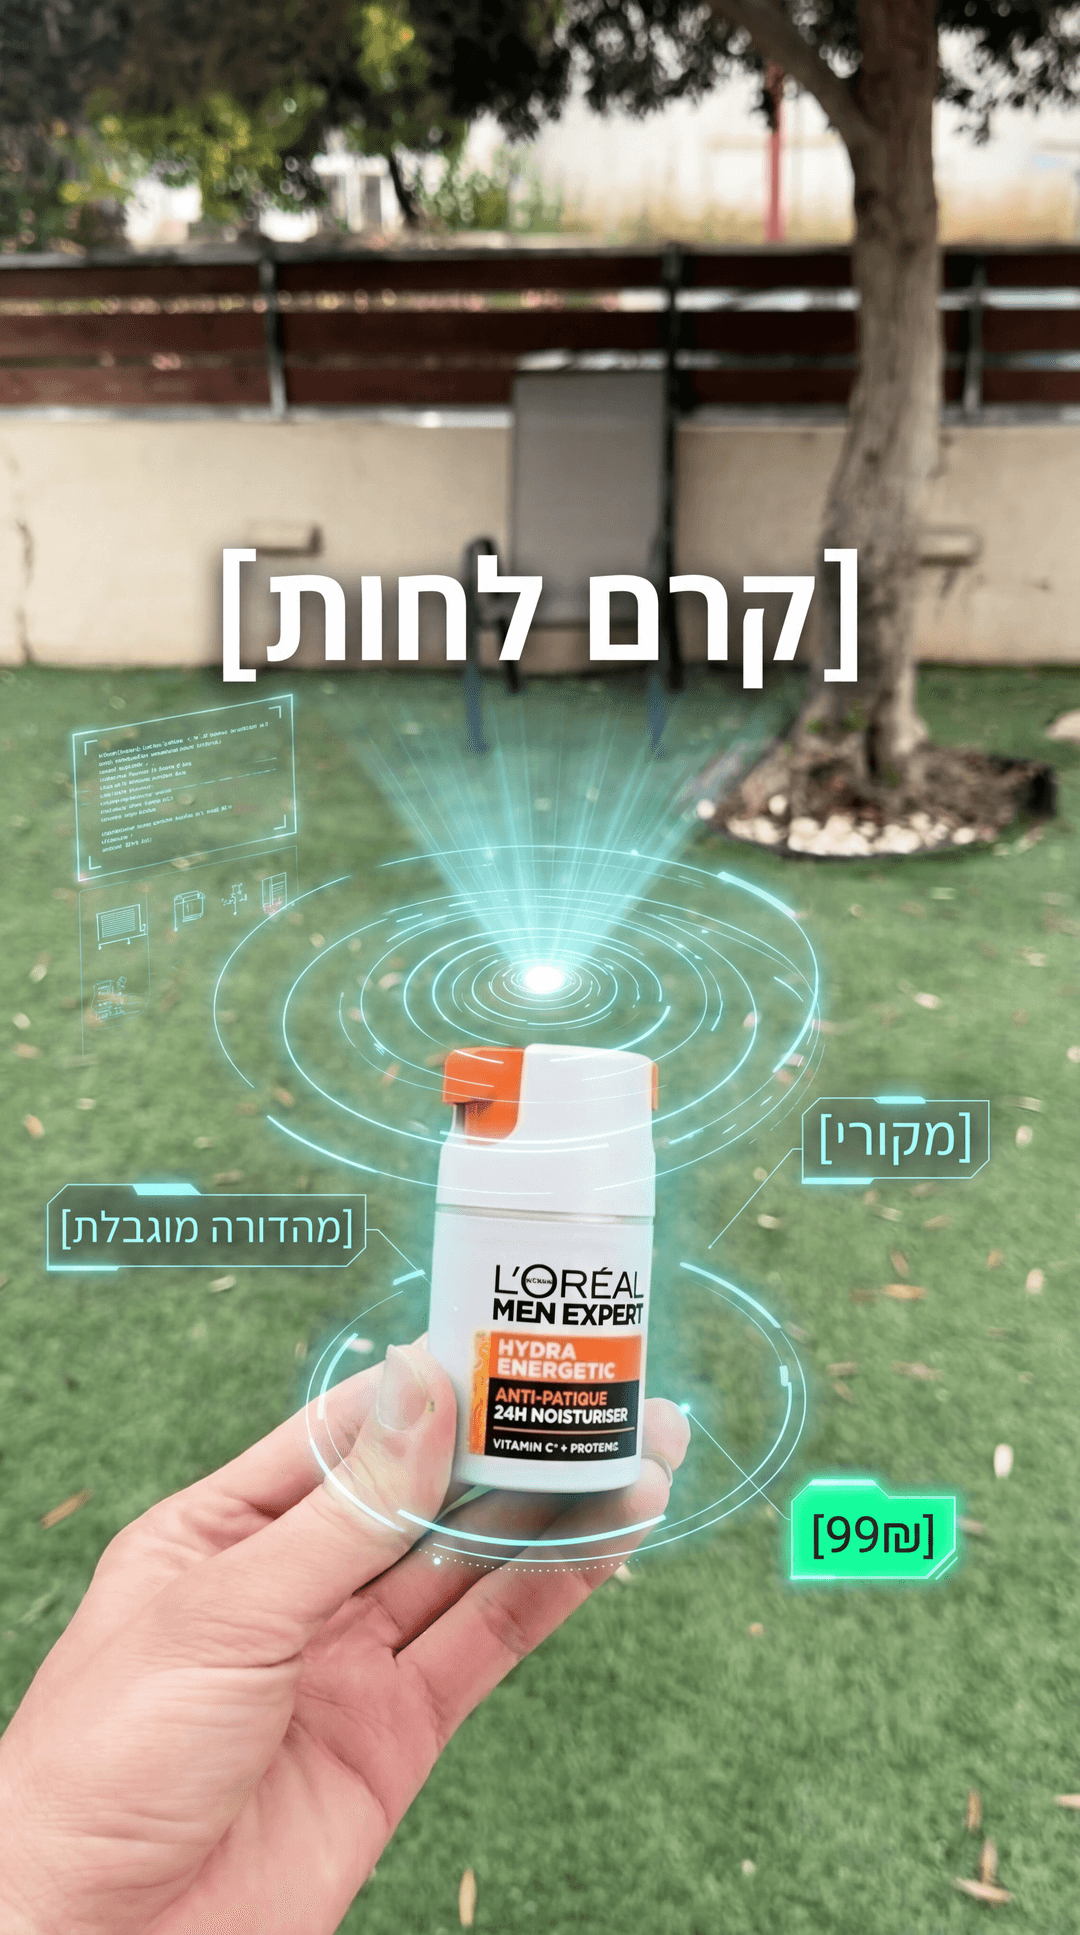
קרם לחות
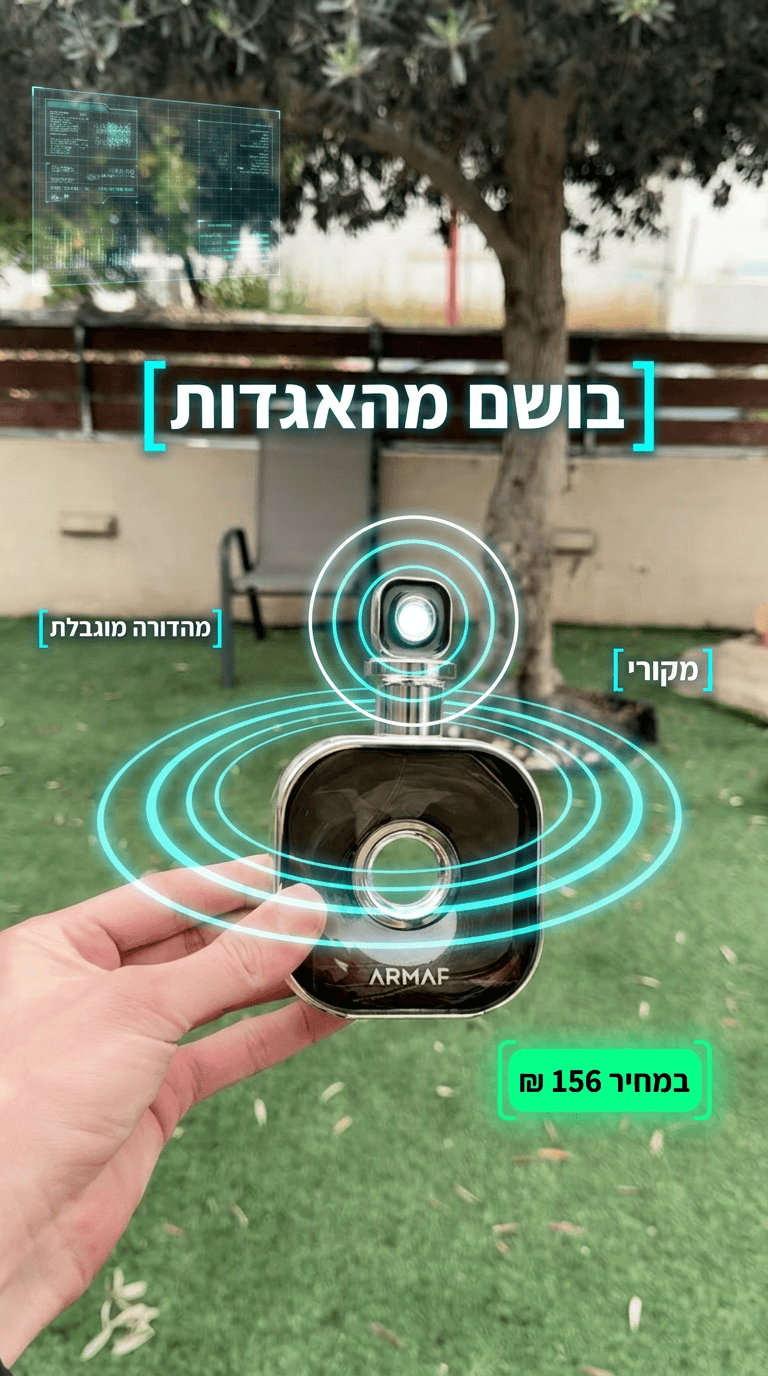
בושם מהאגדות
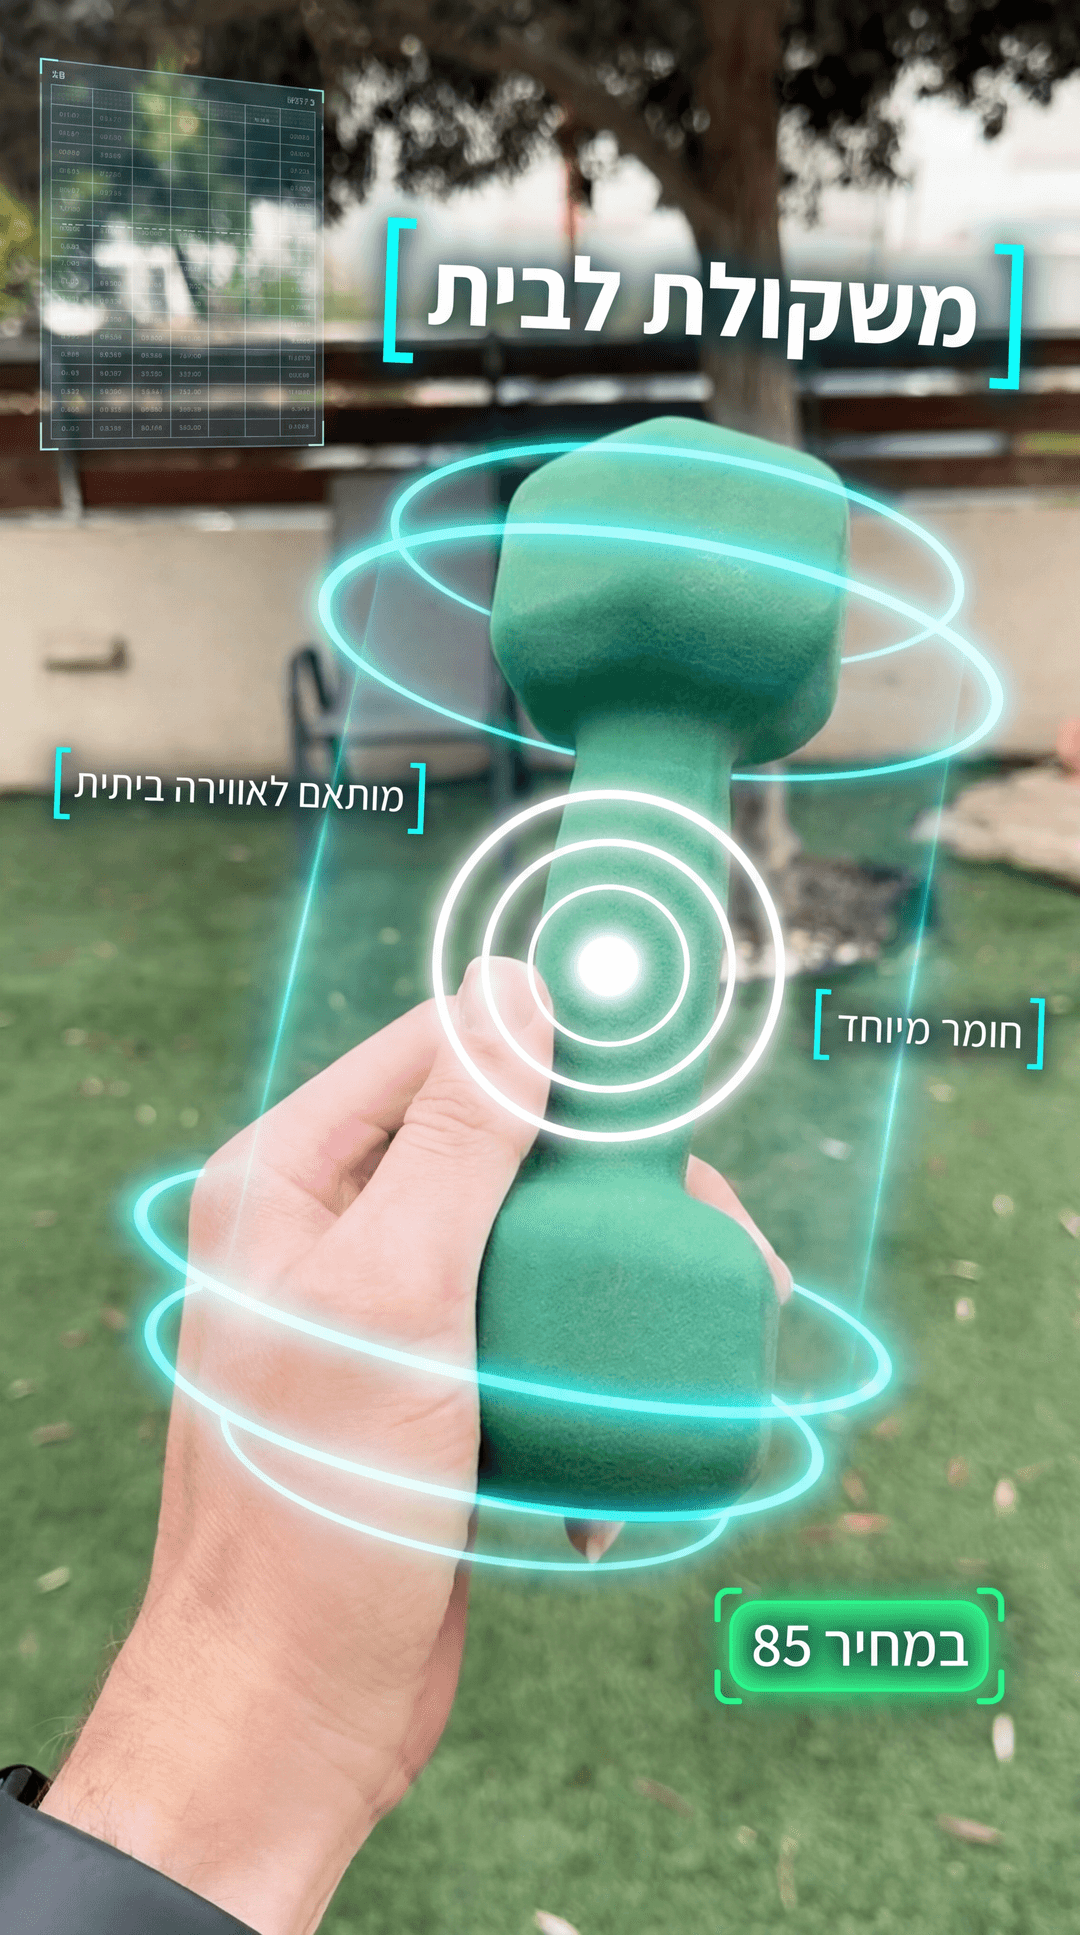
משקולת לבית
שלב 3: Kling 3.0 Omni — מאנימציות תמונה לוידאו
נכנסים ל-Kling 3.0 Omni ובוחרים Image-to-Video עם Start Frame / End Frame.
• Start Frame — הפריים הריק המקורי (הצילום ללא ה-AR)
• End Frame — התמונה שיצרתם ב-Higgsfield עם ה-AR Overlay
מדביקים את הפרומפט ומקבלים אנימציה שמראה את ה-AR מתפתח מהמוצר החוצה — כאילו הוא מוקרן ממנו.
Smoothly transition from the first image to the second image.
The holographic text and UI graphics should animate outward from the surface they are attached to, as if being projected from it.
The graphics should expand out in 3D space and settle into their final locked position.
The overlay must feel physically anchored and properly integrated into the scene.
Maintain accurate perspective, depth, and scale throughout the transition.
All original elements must remain stable with no warping, distortion, or geometry changes.
No camera movement. No background alterations.
Clean AR-style emergence with subtle depth and natural stabilization.
שלב 4: Kling Edit — Tracking מושלם על הסרטון המקורי
זה השלב שמחבר הכל. נכנסים ל-Kling Edit ומעלים שלושה דברים:
• הסרטון המקורי שצילמתם (עם תנועת יד טבעית)
• התמונה המקורית ללא AR (הפריים הראשון)
• התמונה עם ה-AR Overlay מ-Higgsfield
מדביקים את הפרומפט — ו-Kling יוצר Tracking מדויק שמדביק את ה-AR למוצר לאורך כל הסרטון, כולל סיבובים וטיות.
Apply precise 3D motion tracking to the existing text and UI graphics.
The text and callout elements must:
Stay perfectly locked to the object
Be anchored to a consistent surface point
Move naturally with the hand and object
Maintain correct 3D perspective and depth
React accurately to rotation and tilt
Preserve proper scale relative to distance from camera
Tracking must feel rigid and physically attached to the object — not screen-space tracked.
No drifting
No sliding
No jitter
Clean, professional AR-style overlayהתוצאה
אנימציית AR הולוגרפית שנצמדת למוצר עם Tracking מושלם — נראה כאילו הופק עם תקציב של אולפן.
💡 המסר המרכזי
אנשים לא קונים מוצר — הם קונים חוויה.
אפקט ה-AR הופך כל מוצר רגיל לפרסומת שגורמת לאנשים לעצור, לצפות שוב, ולשאול "איך עשית את זה?"